ShopDreamUp AI ArtDreamUp
Deviation Actions
Suggested Deviants
Suggested Collections
You Might Like…
Featured in Groups
Description
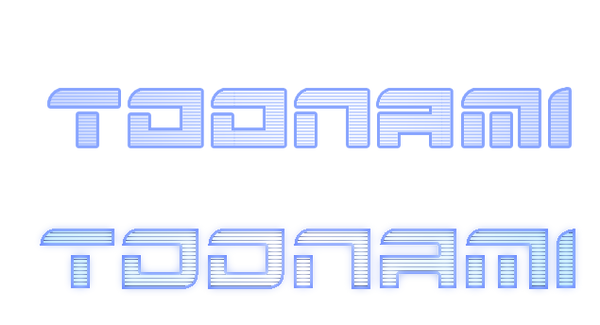
Ok, figured i'd give this a shot and see if I could do this in Photoshop. My version is on top, while  is on bottom.
First (assuming you have the correct font) is to open a new PS document, select the type tool and 'type' what ever you want 'toonamified'.
Next select the type layer [ctrl + left mouse click] creature a new layer and fill it (the color dosent matter) [select +F5] And name it 'fill' So now you should have a typed version and a layer version.
Third, with the third layer selected. Stroke the new layer in the color you want. R:133, G:163, B:255. With a 3 px stroke.
Fourth, select the gradient tool and choose a three color preset.
Next, select the first color as the same from the outline one, the second one as white, and the third one the same as the first one.
Fifth, Select the 'fill' layer. Make sure the gradient is set to linear and drag a horizontal line across the selected area. (this may take a few times) Till you get the color ration your happy with.
Next, create a new layer name it 'line', Select the rectangle marquee and make a selection big enough to cover the 'fill layer.
Sixth, Make sure your foreground color is the same color as the outline, while the background is white and select halftone pattern. Filter>Filter gallery>Sketch>Halftone pattern.
Next, select 'line' from the drop down menu next to the pattern type text. If done correctly, you should see a series of colored lines. Select the size and 1 and contrast as 50 and press ok.
Then, with the 'line' layer highlighted. Go to color range, select the white in the line pattern and delete it. Select>color range
Next, scale the line' layer till the lines are at the correct with. (you may need to duplicated the layer a few times, so it covers the entire font) Merger possible layers and move on to the next step.
Finally, select the 'fill' layer [cntrl + left mouse click] high light the 'line' layer. Select inverse from the drop down menu and hit delete. Select>inverse>delete Tweak the opacity, add a outer glow and your done
Please keep in mind that this was my first attempt at this. So a few thing are still a little off. I'll try to perfect this in the future, but i figured i'd let PS users know it's possible to make this style of font.
Image size
636x344px 53.71 KB
© 2013 - 2024 Snicket324
Comments4
Join the community to add your comment. Already a deviant? Log In
how do you scale layers


